Google One is a great all-in-one solution to store your Google Photos, Docs, and other important pieces of online information. It is easy to access and use, priced competitively among the online storage options and can be accessed from just about any connected device, including laptops, desktops, tablets, and smartphones. And while it's great that Google gives you more free storage than some other companies (15GB for all users), it's also pretty easy to fill up your quota, especially if you've got years of emails, documents, photos, videos, and music or movies in there. Google does offer affordable upgrade tiers, but the first thing you should do before you upgrade is to make the most of the space you already have. Here's how to manage and free up your Google One storage to accomplish just that.
How to manage and free up your Google One storage
On an Android device
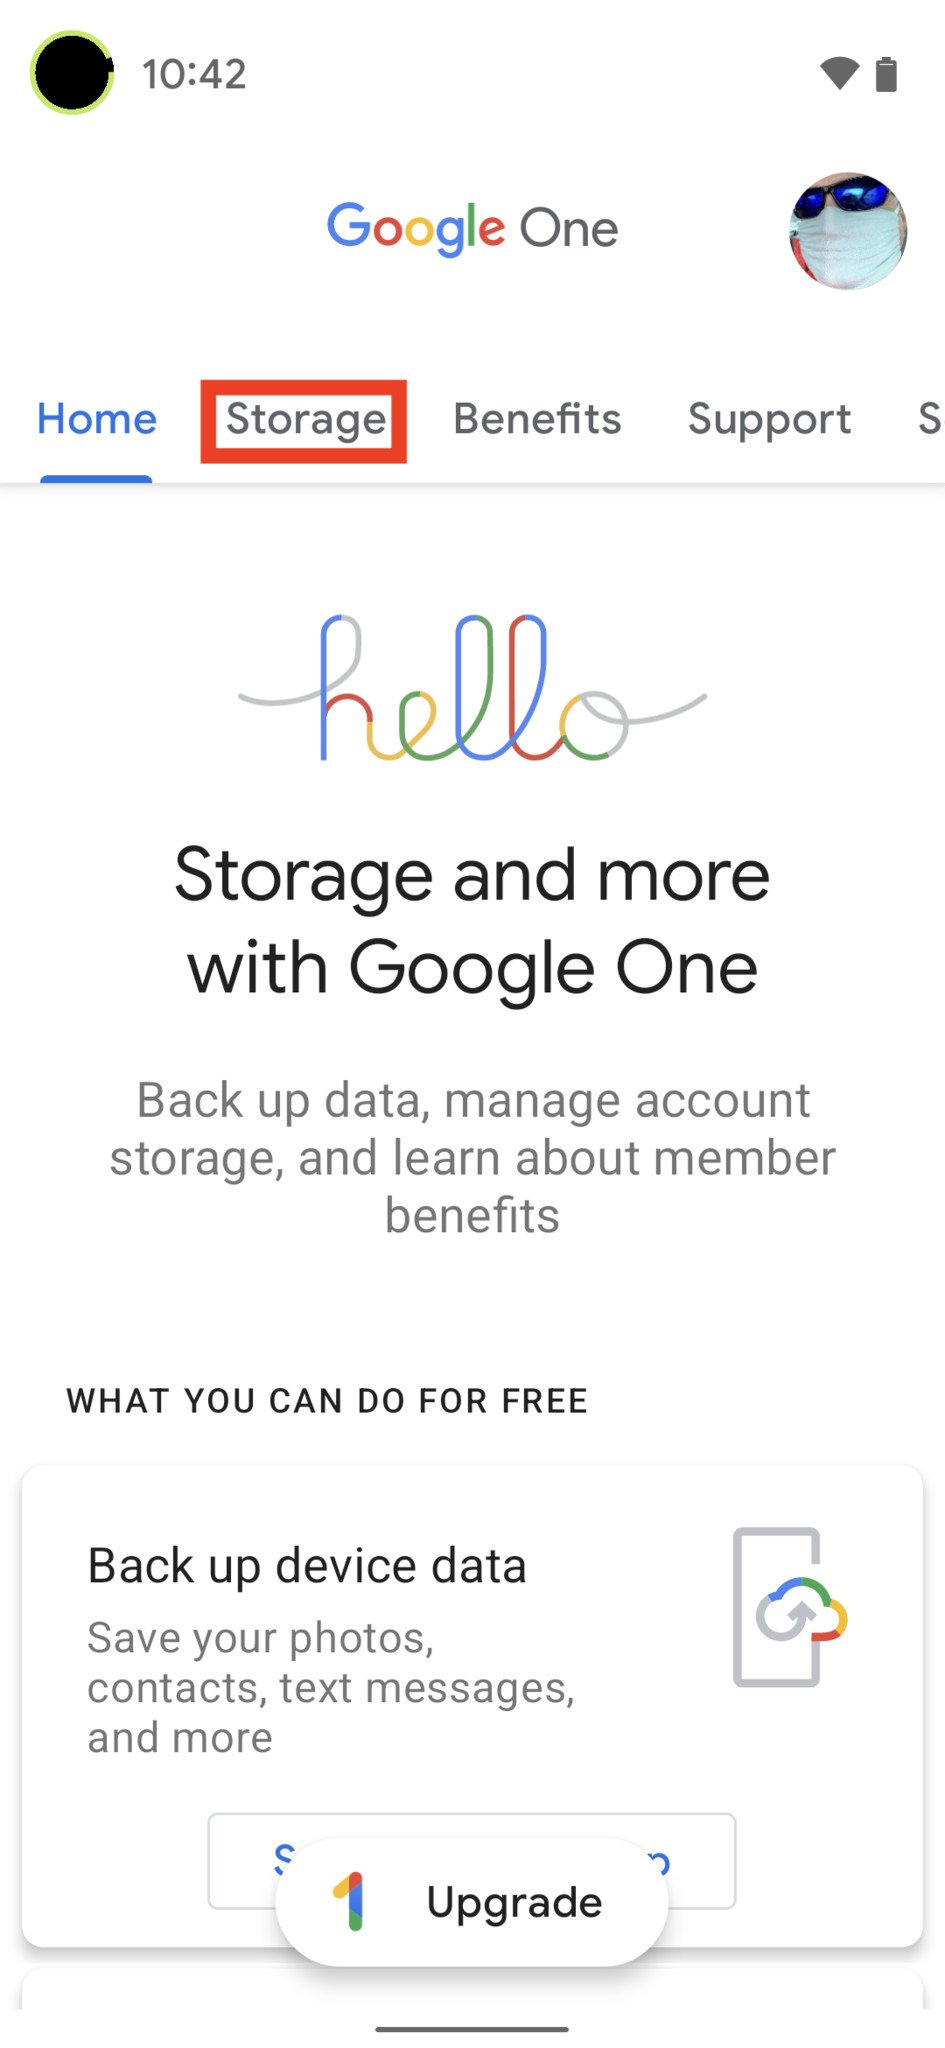
- Open the Google One app.
- Tap on Storage at the top of the screen.
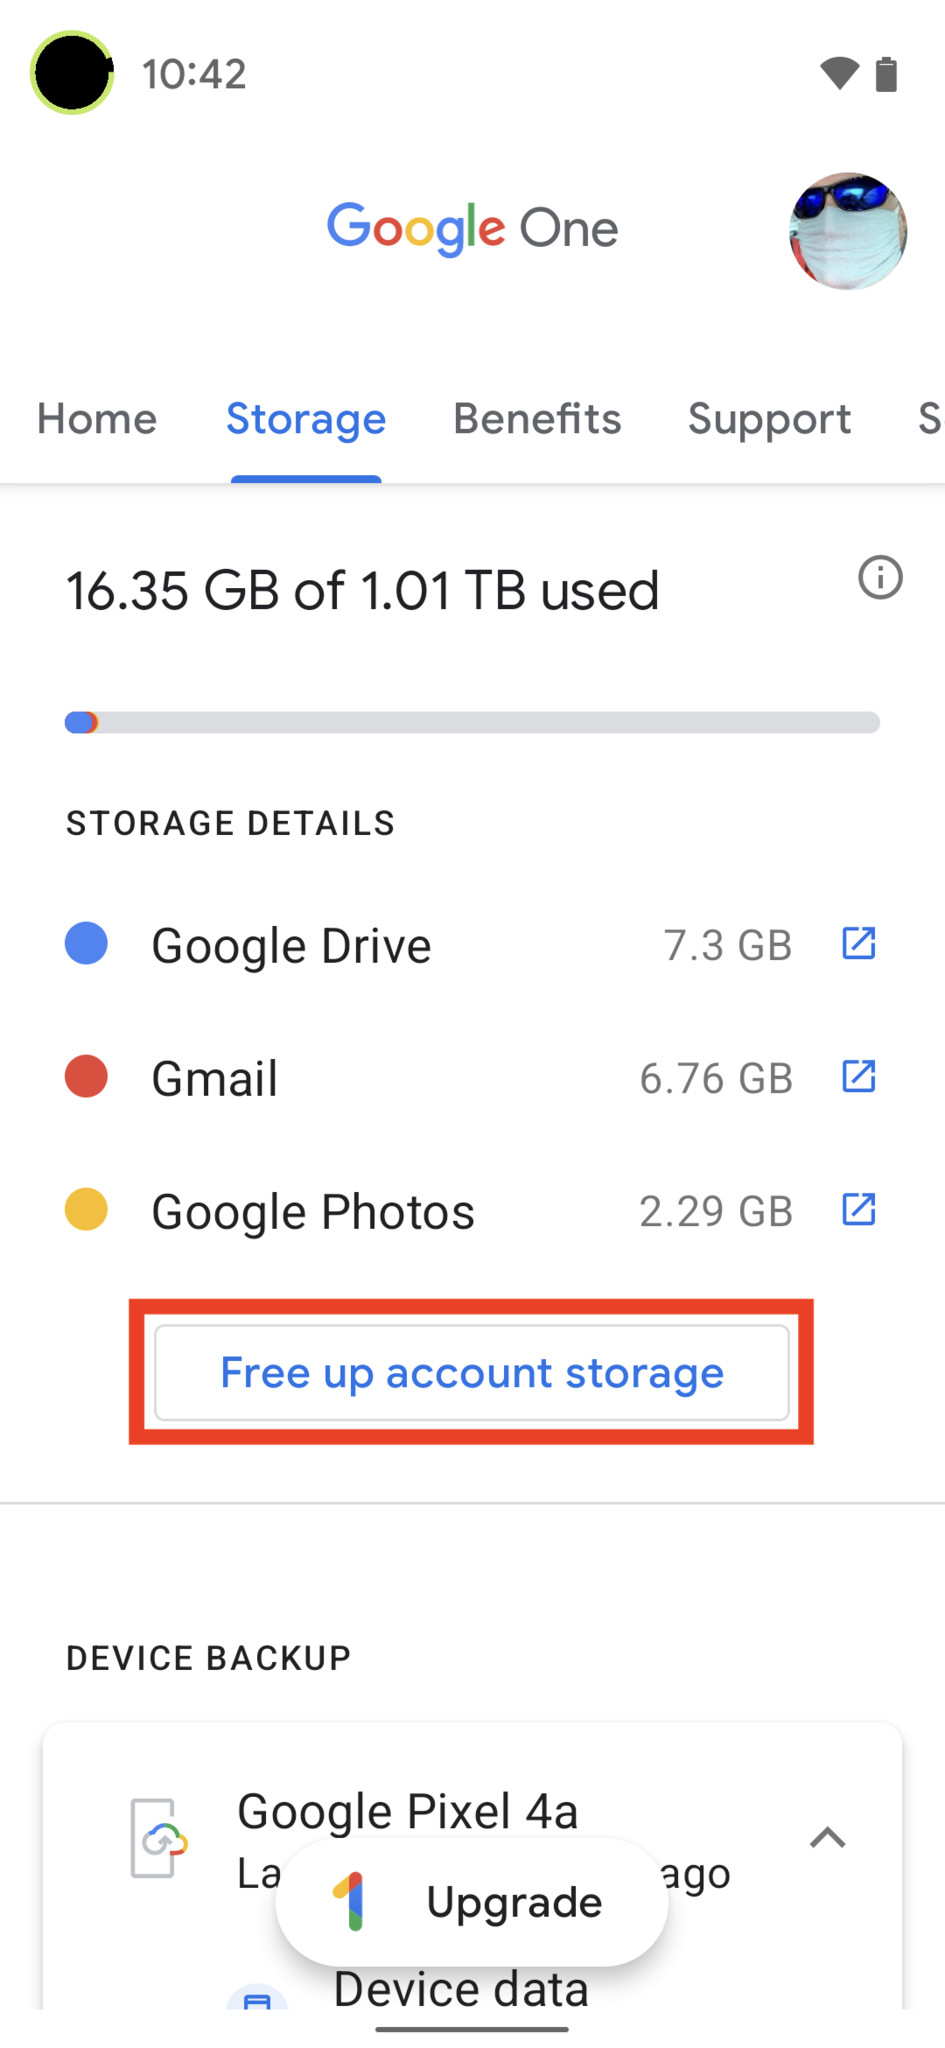
- Scroll down and tap on Free up account storage.
-
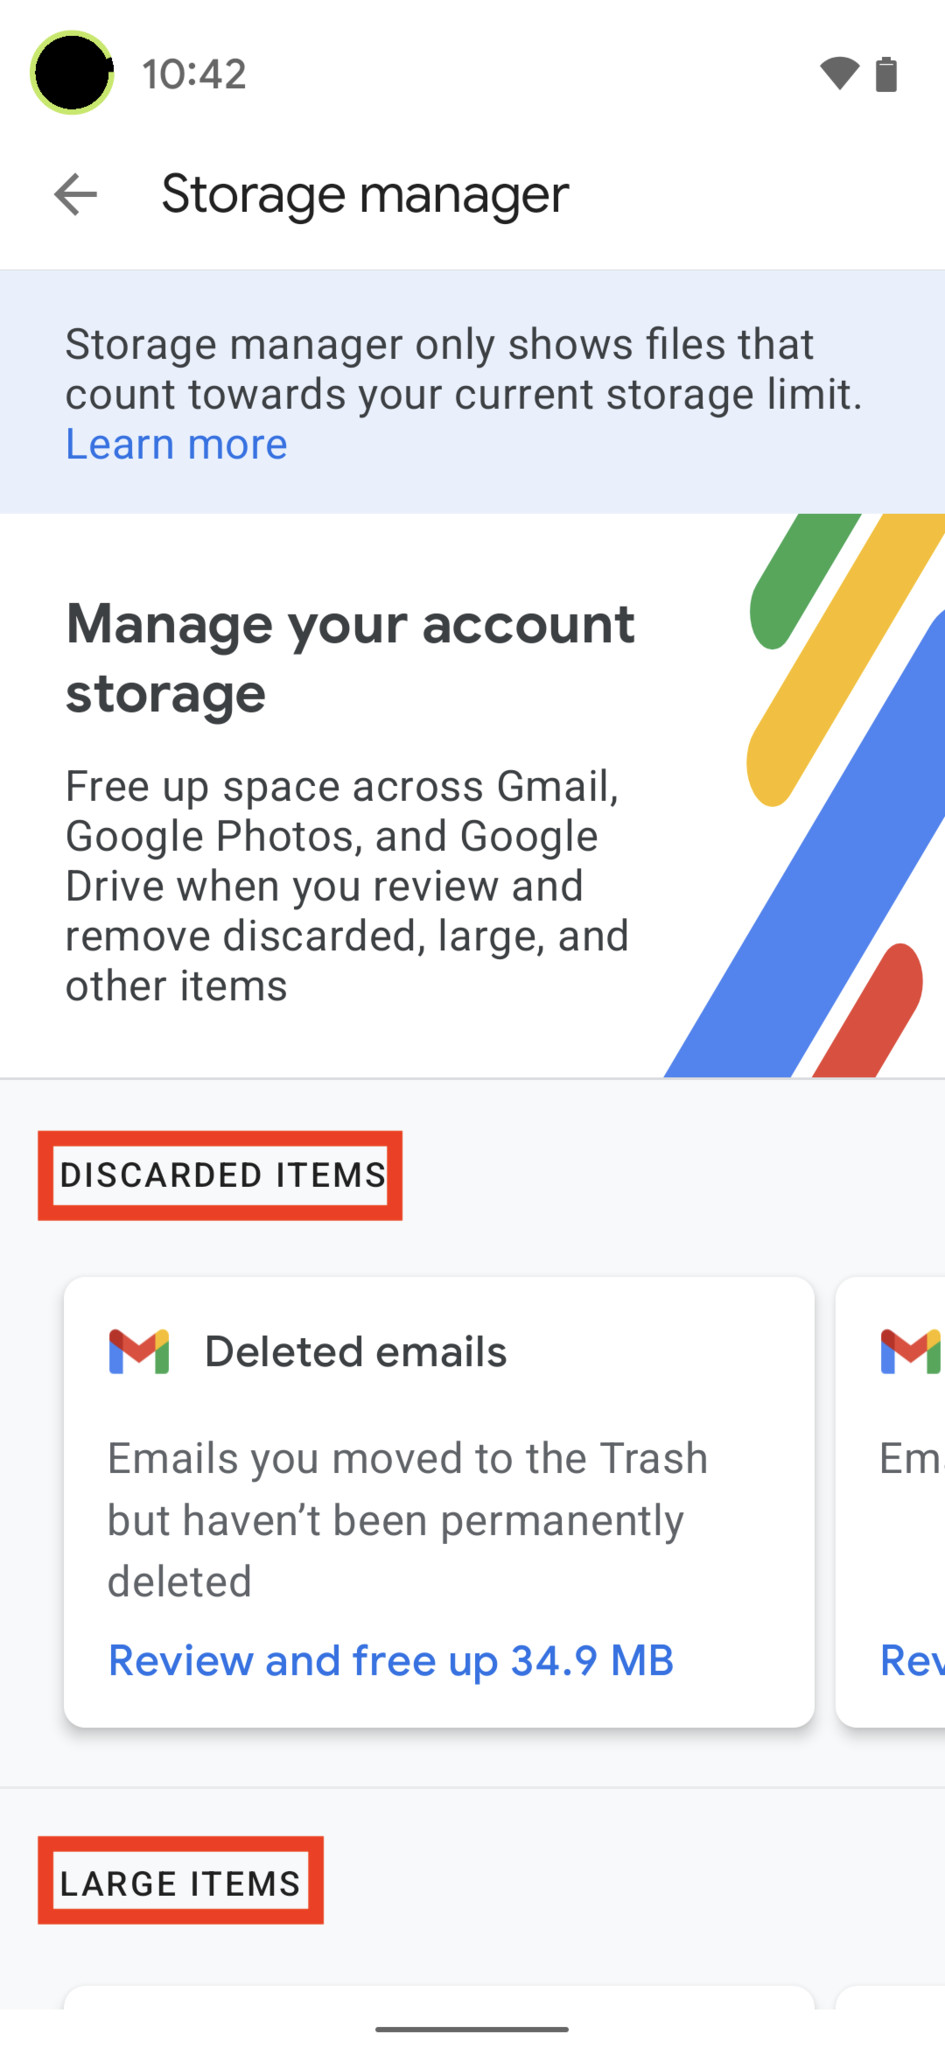
Scroll through the different categories and options, like Discarded Items, Large Items, and Other Items, and choose a category.
- You should see the amount of storage each category is using below the description. This can help you decide what to delete first.
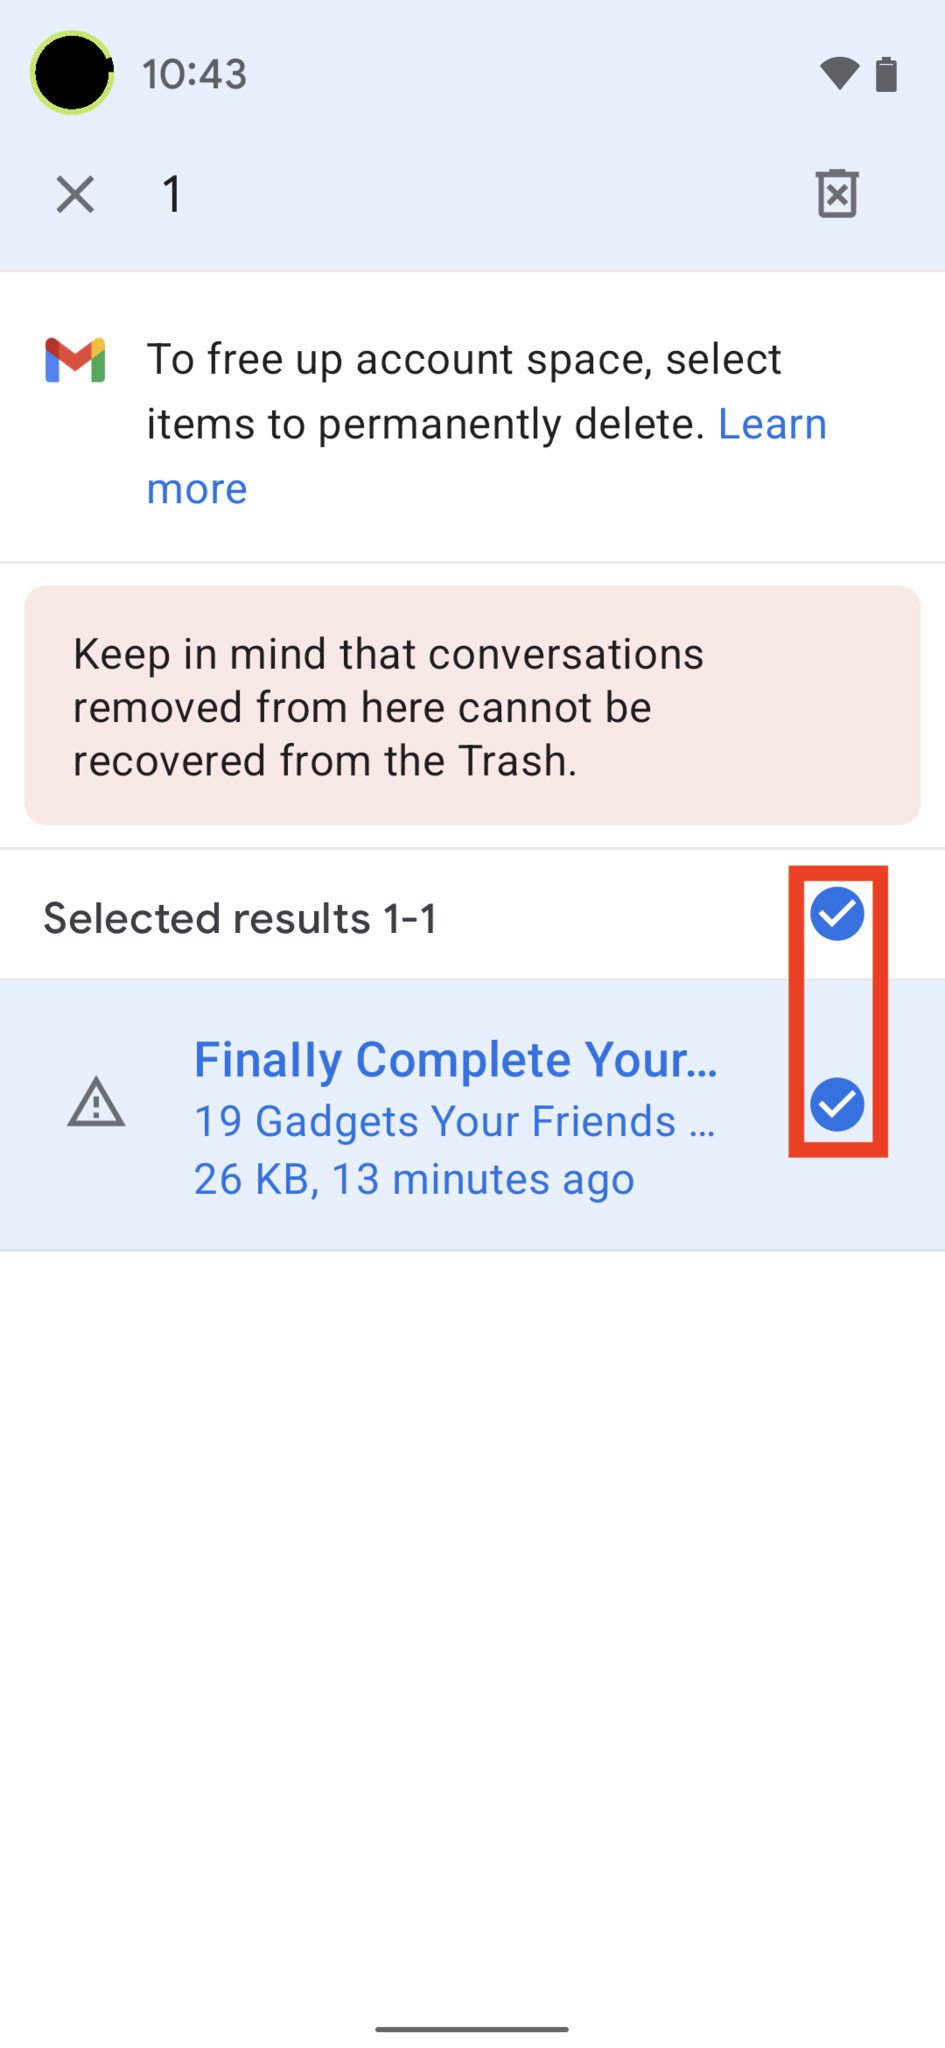
- Select the items you wish to delete from your account.
- Tap the trashcan icon at the top right of the screen.
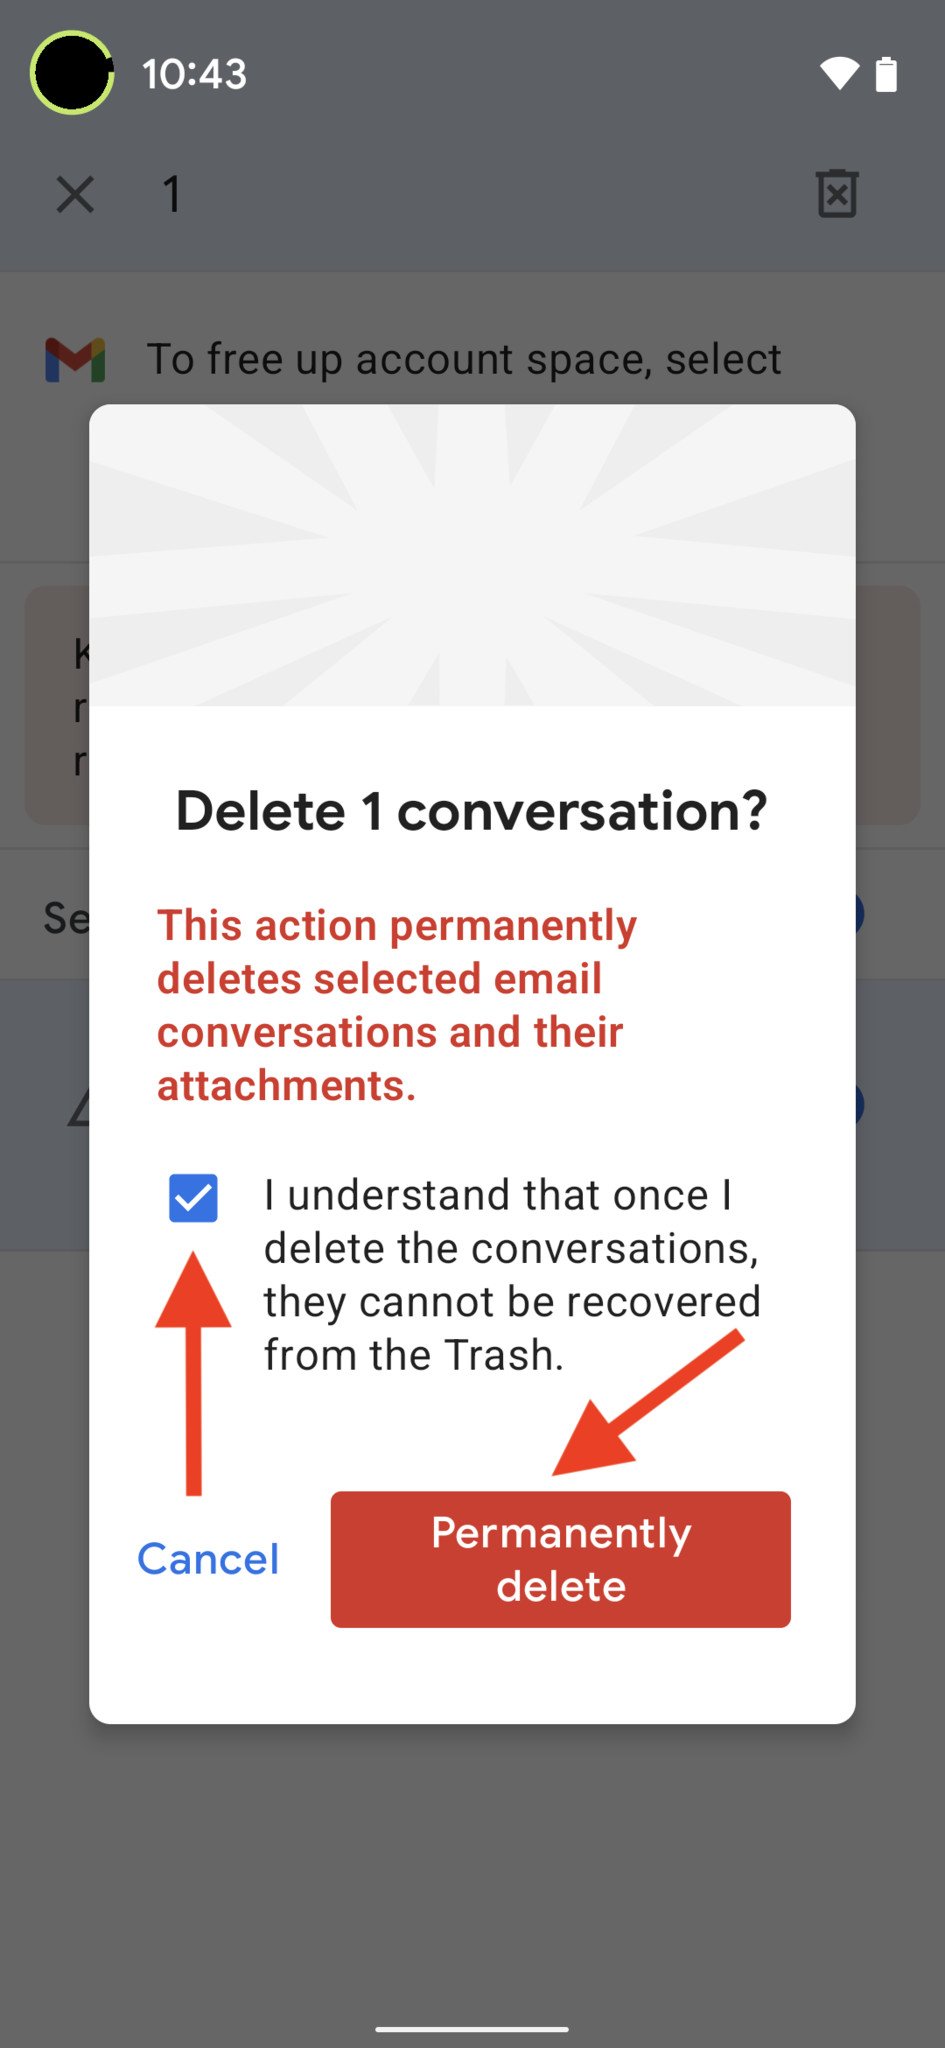
- Tap the checkbox to agree that you understand that deleted items cannot be recovered.
-
Tap Permanently delete.
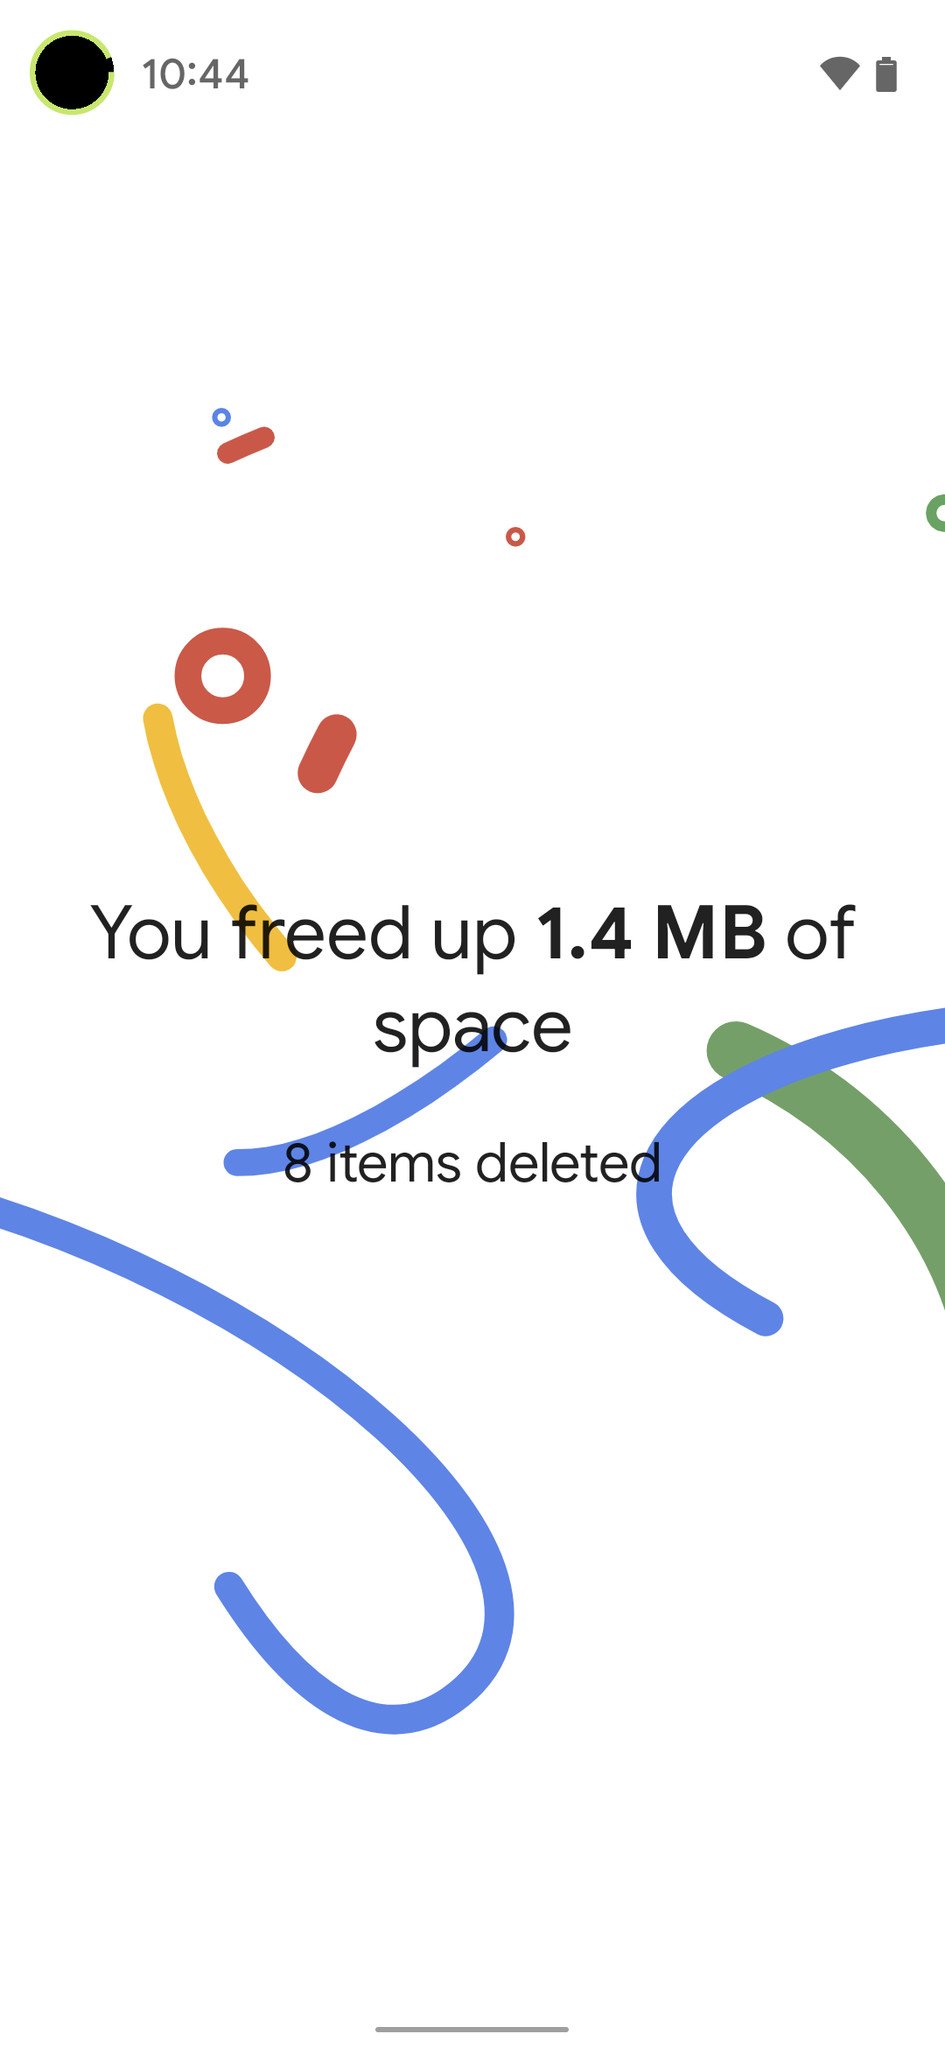
Once you're done, you'll see a fun animation celebrating how much space you cleared. You can repeat this process as frequently as you like. If you happen to have an iPhone or iPad, the process is the same.
How to manage and free up your Google One storage
On a computer
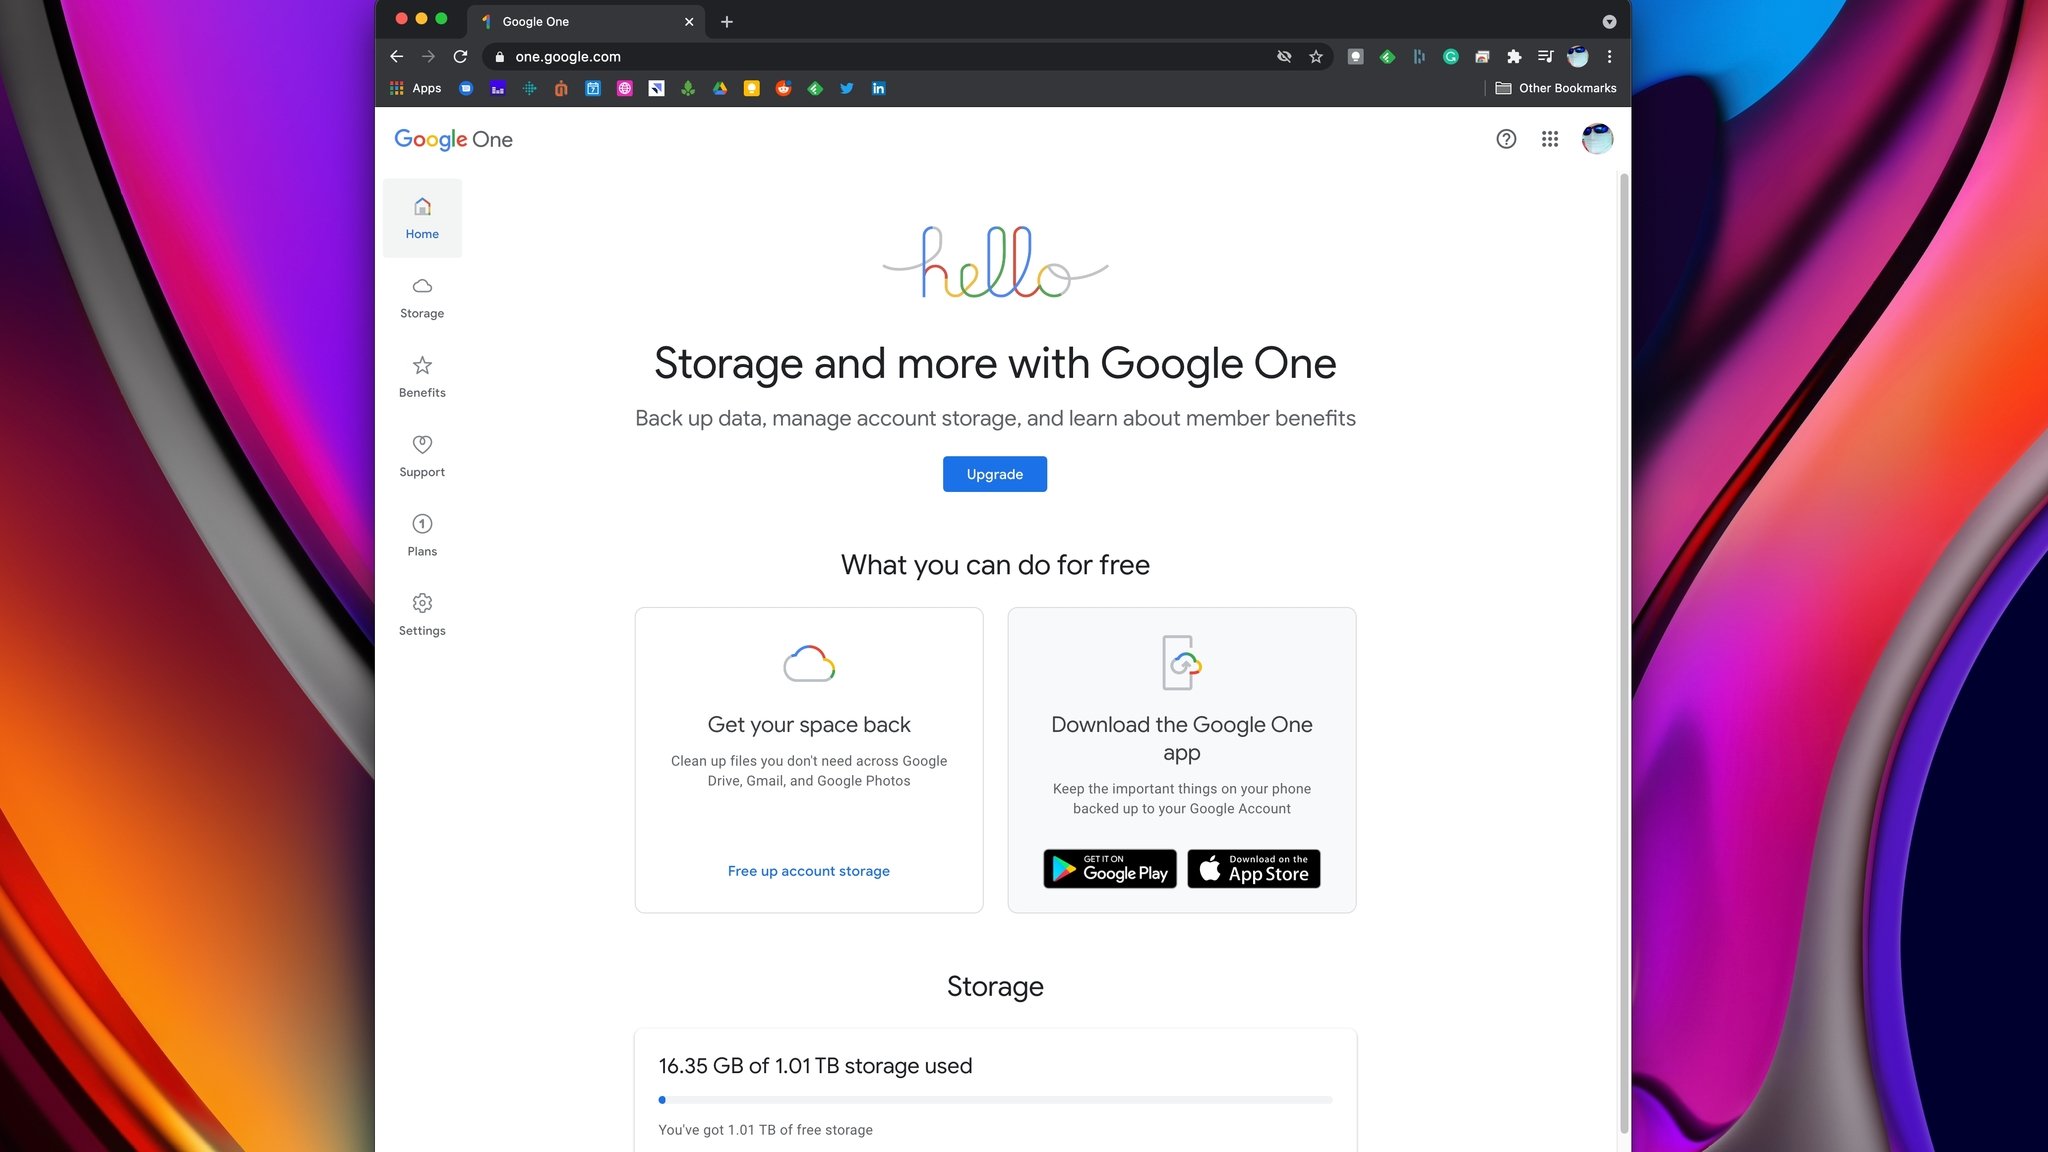
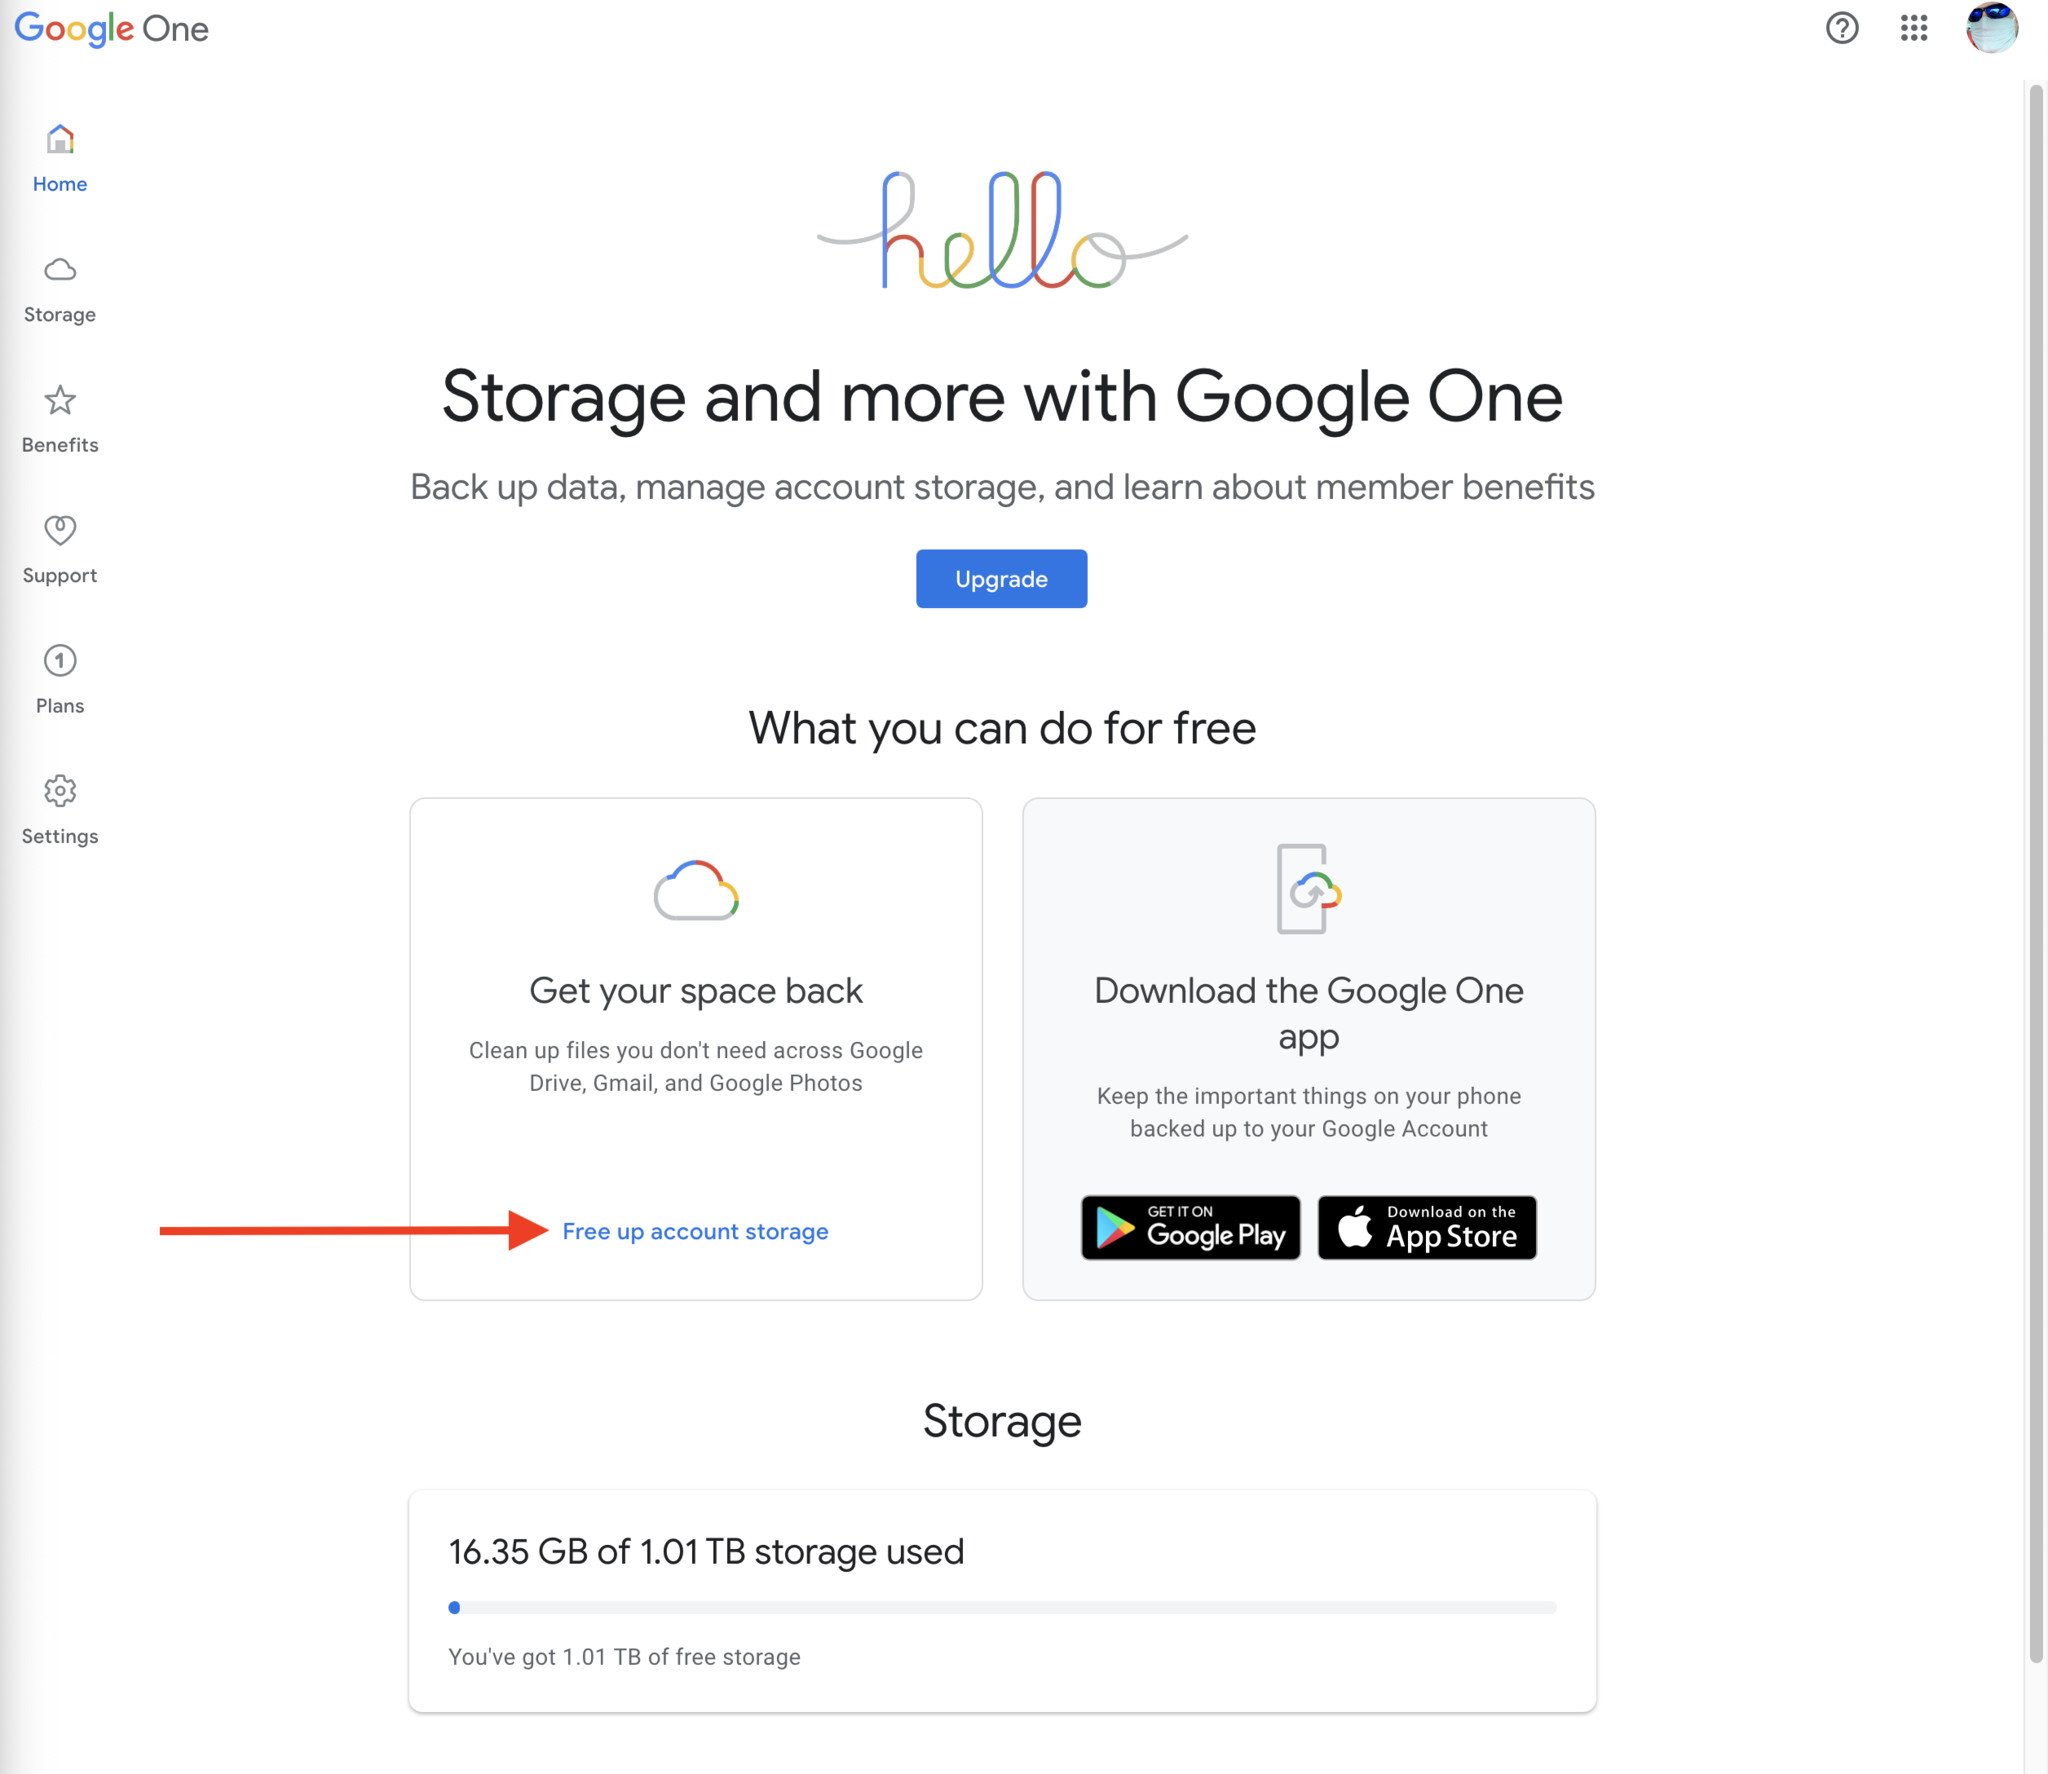
- From your browser, go to one.google.com.
-
Click on Get your space back / Free up account storage.
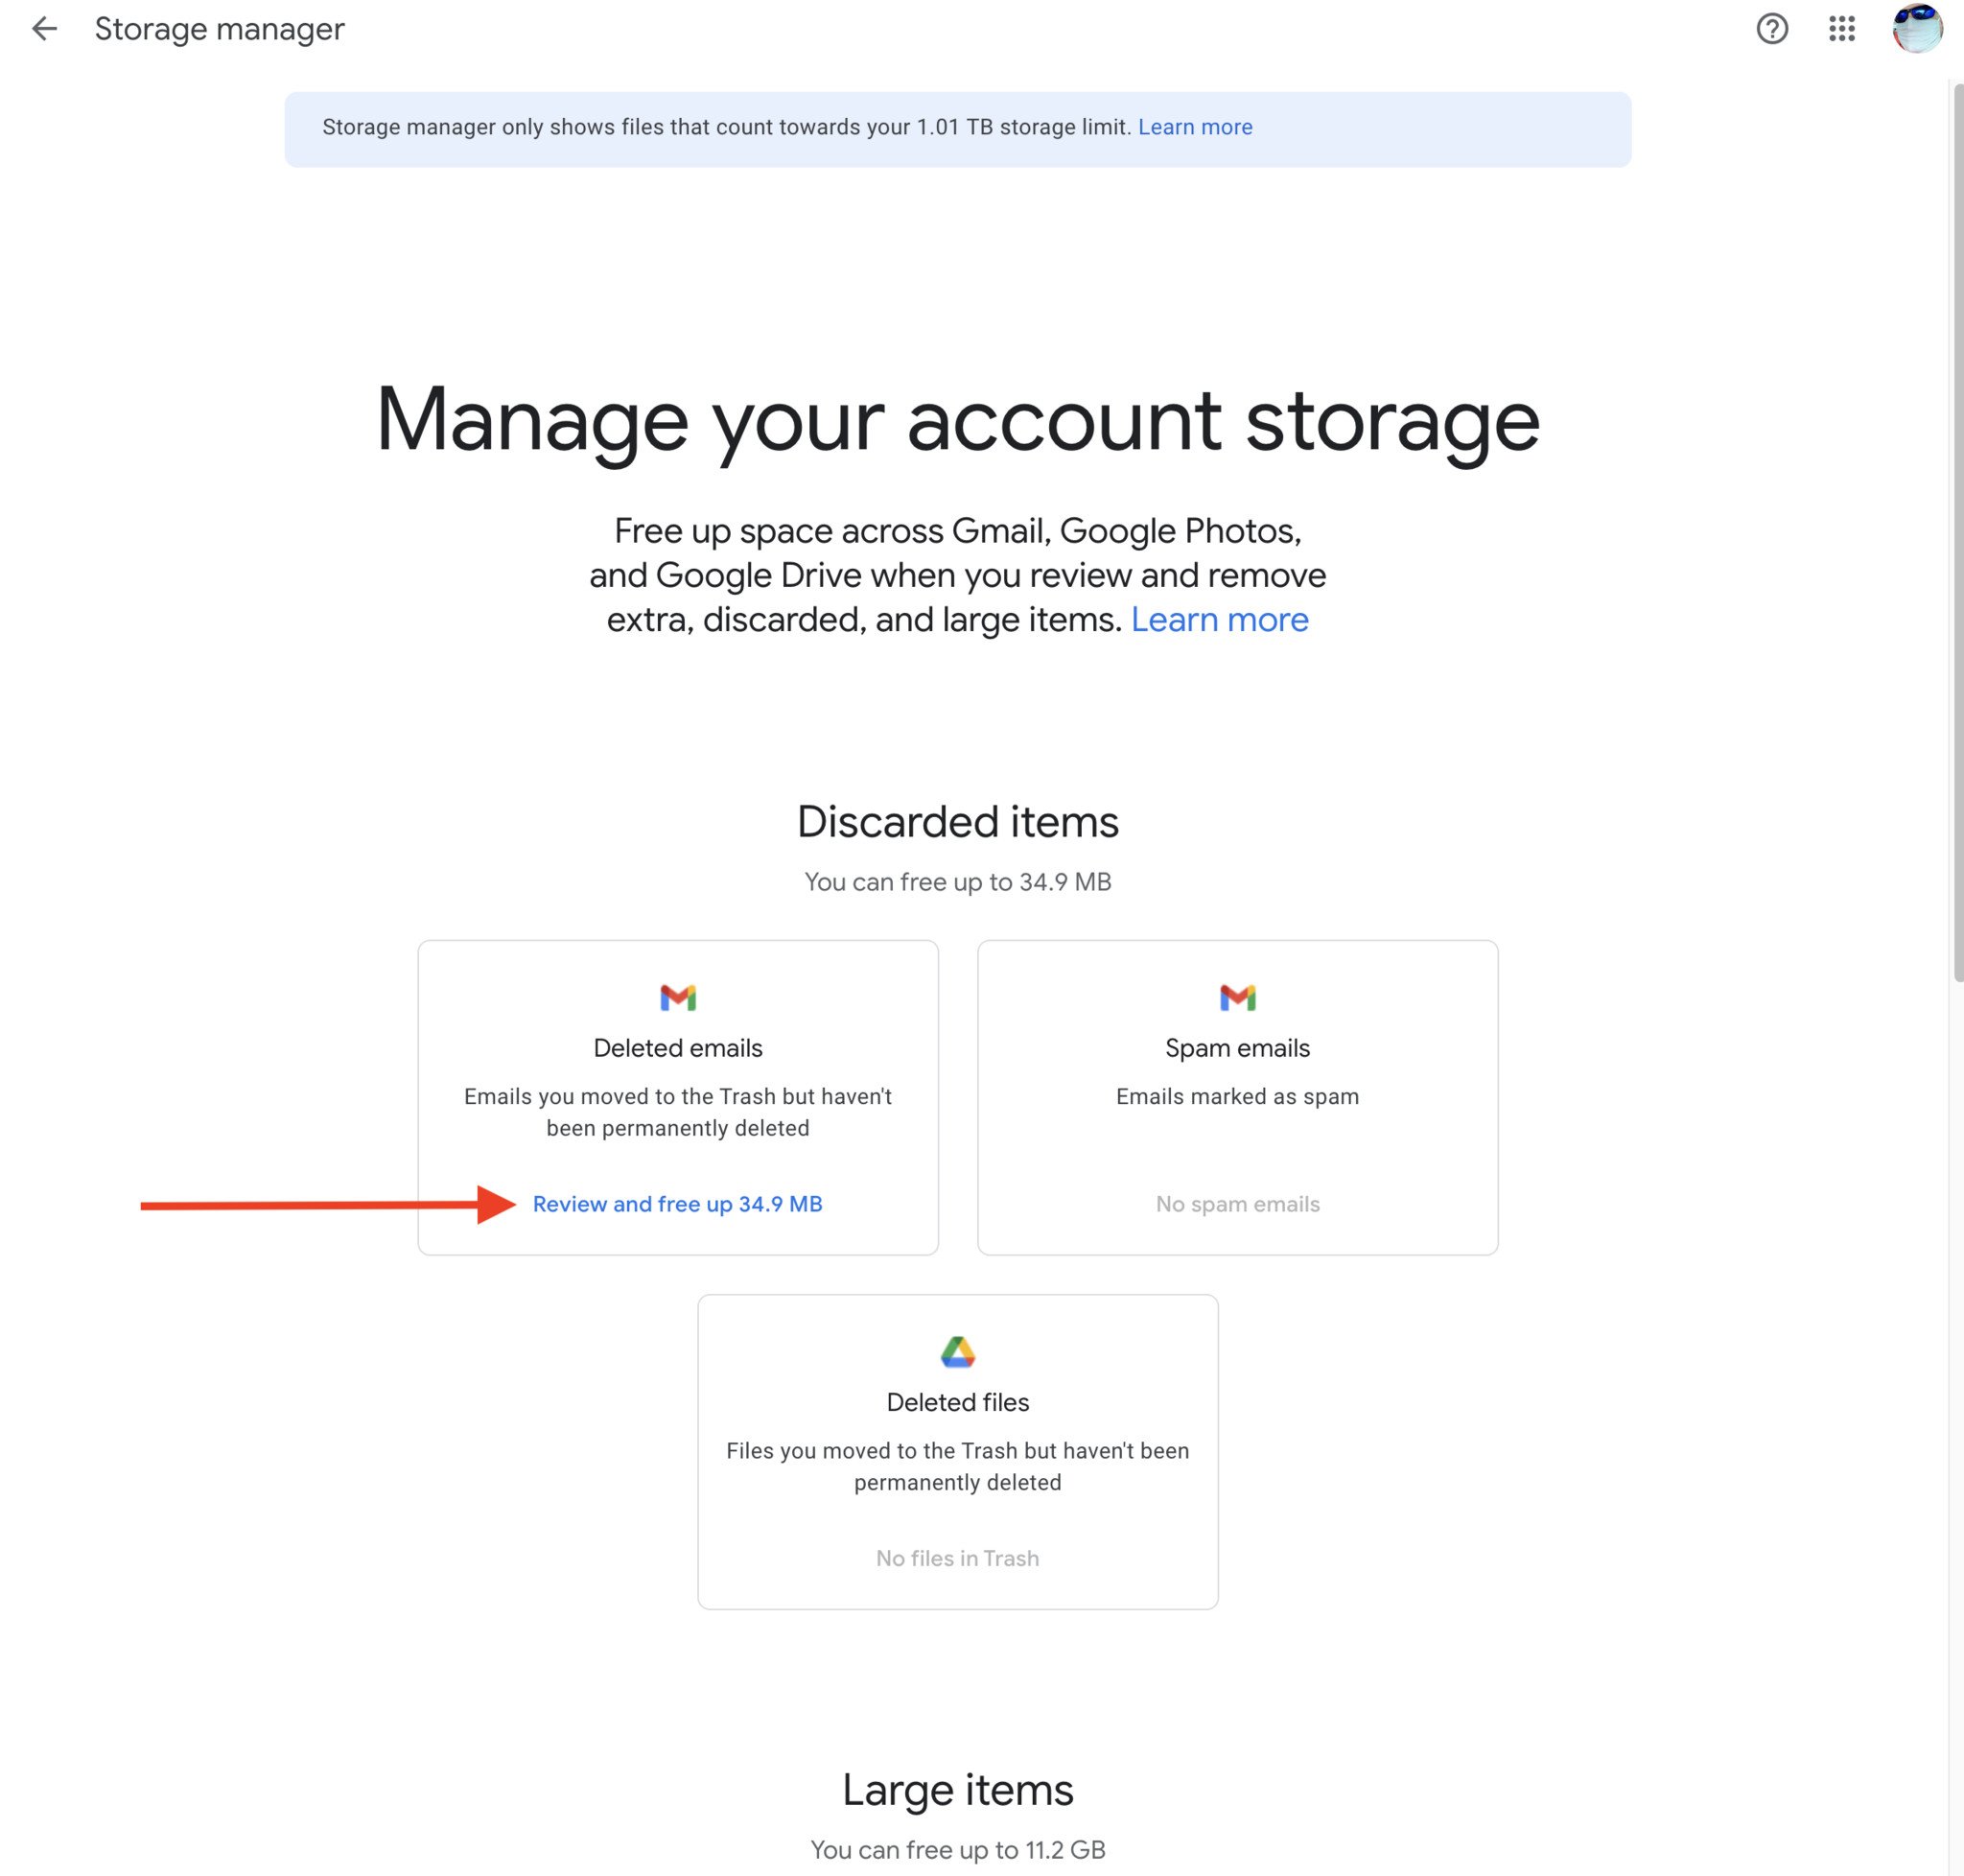
- Look over the different categories like Discarded Items, Large Items, and Other Items and choose a category.
- You should see the amount of storage each category is using below the description. This can help you decide what to delete first.
-
Click on Review and free up beneath that category.
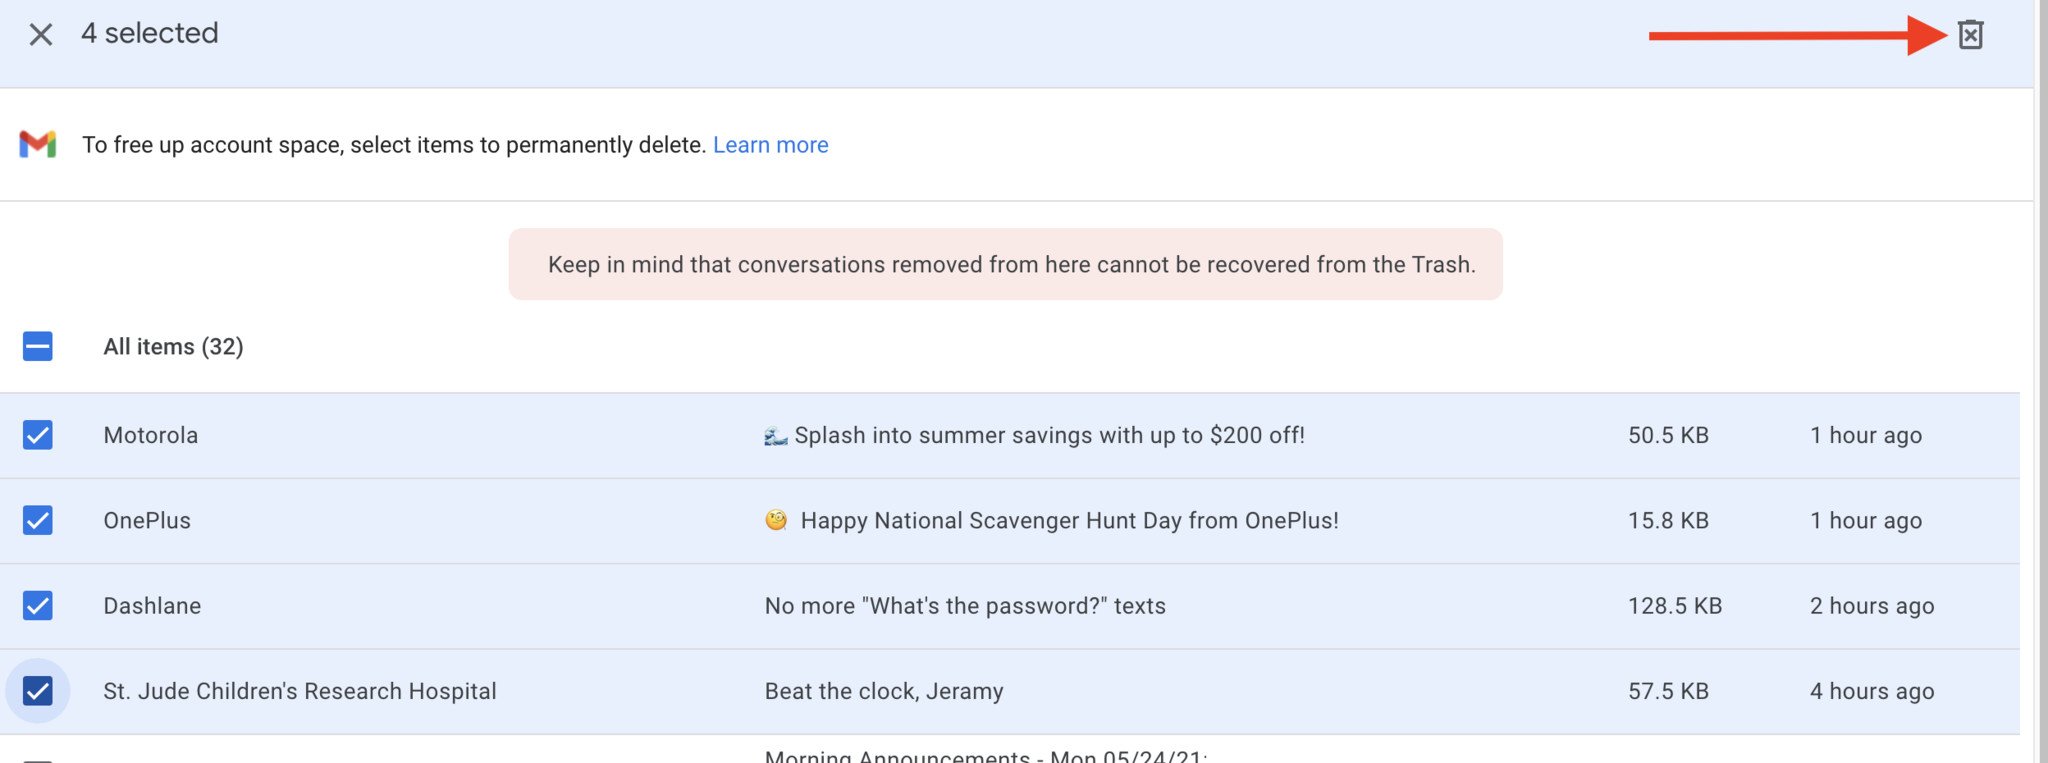
- Select the items you wish to delete from your account.
-
Click the trashcan icon at the top right of the screen.
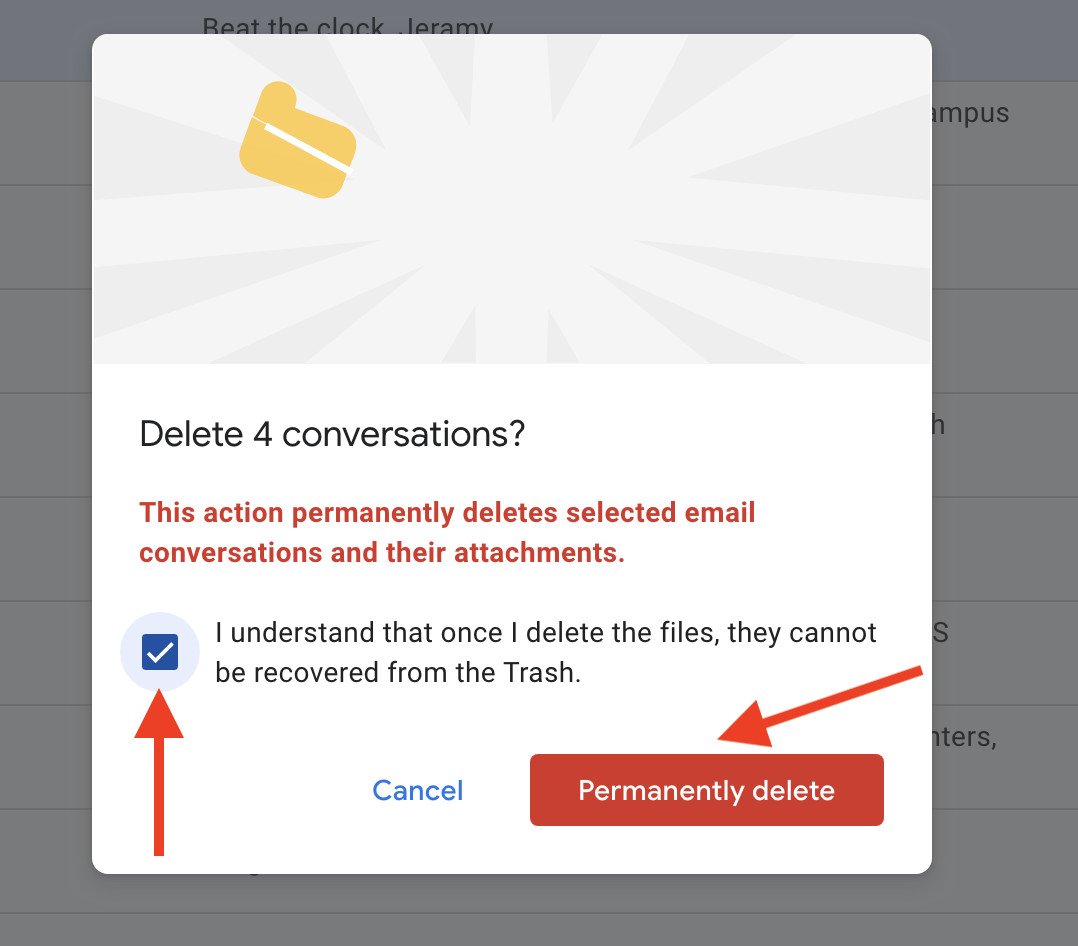
- Click the checkbox to agree that you understand that deleted items cannot be recovered.
-
Click Permanently delete.
Managing your online storage has always been challenging, but it is particularly so now that Google is counting your new Google Photos uploads against your Google One quota.
Many of us here at Android Central think that Google Photos is worth paying for, and several of us also pay for additional Google One storage.
Whether or not you think Google One is worth paying for, you still should take full advantage of the free storage Google gives you, and taking the steps above (and repeating the process once or twice a year) will go a long way towards ensuring you don't have to pay more than you want to moving forward. It's so easy to do that you might just end up making it part of your regular digital routine.
from Android Central - Android Forums, News, Reviews, Help and Android Wallpapers https://ift.tt/3fSyp0y
via IFTTT

Aucun commentaire:
Enregistrer un commentaire